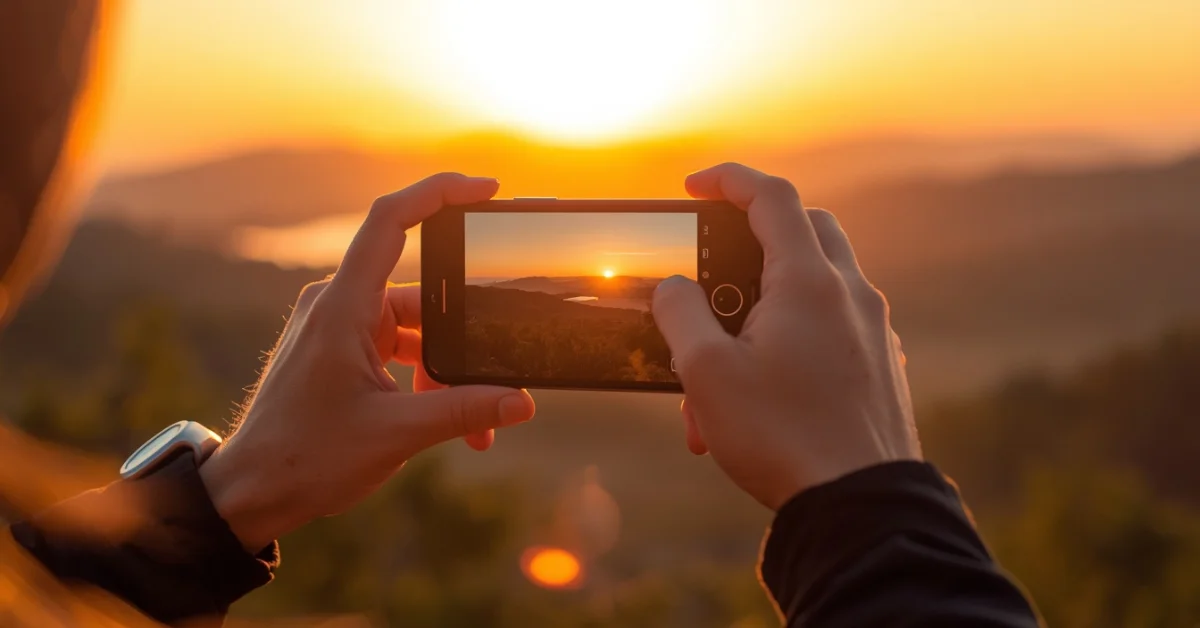
Want to know the best tips for photography with iPhone? The iPhone camera has become one of the most powerful photography tools ever made — the iPhone 16 Pro shoots 48MP photos, records 4K video, and includes a dedicated camera control button. But most iPhone users only scratch the surface of what their camera can do. These 10 proven tips for photography with iPhone will transform your photos from ordinary to professional-looking, whether you are a complete beginner or a seasoned shooter.
What iPhone Models These Tips Work For
Most tips in this guide work on iPhone 12 and newer. Some features like Action Mode, Photonic Engine, and ProRAW require iPhone 14 or newer. The Cinematic Mode tips require iPhone 13 or newer. If you have an older model, most composition, lighting, and editing tips still apply fully.
Tip 1: Master the Rule of Thirds for Better Composition
The single most impactful change you can make to your iPhone photos costs nothing and takes 30 seconds to set up. Enable the camera grid and use the rule of thirds.
How to turn on the grid: Settings → Camera → turn on Grid. Now your viewfinder shows a 3×3 grid.
The rule of thirds works like this: instead of placing your subject in the center of the frame, position them at one of the four intersection points of the grid lines. This creates a more dynamic, visually interesting composition that draws the viewer’s eye naturally.
When to use it:
- Portraits — place eyes on the top horizontal grid line
- Landscapes — place the horizon on the top or bottom third line, not the middle
- Architecture — align vertical elements with the left or right grid lines
Pro Tip: The grid also helps you keep your photos level — no more accidentally crooked horizon lines in landscape shots.
Tip 2: Use Portrait Mode the Right Way
Portrait Mode is one of the most popular iPhone camera features — it creates a professional blurred background (bokeh) effect that makes your subject pop. But most people use it incorrectly.
How to use Portrait Mode correctly:
- Open Camera and swipe to Portrait mode
- Stay 2–5 feet from your subject — too close or too far and it will not work properly
- Look for the yellow depth effect box around your subject — this means it is working
- Tap the f-number in the top right to adjust background blur intensity — f/1.4 is most blurred, f/16 is least
- Try different lighting options: Natural Light, Studio Light, Contour Light, Stage Light
Best for: People, pets, food, products — anything where you want the subject to stand out from the background.
Common mistake: Using Portrait Mode for group photos where people are at different distances — the camera can only focus on one depth plane at a time.
Tip 3: Master iPhone Lighting — The Most Important Skill
Professional photographers say lighting is 80% of a great photo. Here is how to use light effectively with your iPhone:
Natural Light (Always Best)
- Golden hour — The hour after sunrise and before sunset produces warm, soft, flattering light. This is when professional photographers do most outdoor shoots
- Overcast days — Clouds act as a giant diffuser, creating even, shadow-free light perfect for portraits
- Window light — For indoor portraits, position your subject facing a large window. Side lighting from a window creates beautiful dimension
- Avoid harsh midday sun — Creates unflattering shadows on faces and blows out highlights
How to Manually Adjust Exposure on iPhone
Tap on your subject in the camera viewfinder to focus. Then slide the sun icon up or down to manually brighten or darken the image. This is one of the most useful and underused iPhone camera features.
Pro Tip: Tap and hold on your subject to lock both focus and exposure (AE/AF Lock). A yellow box appears — now you can reframe without the camera readjusting. Essential for tricky lighting situations.
Tip 4: Use Night Mode for Stunning Low-Light Photos
Night Mode automatically activates on iPhone 13 and newer when the camera detects low light. It takes a series of photos over 1–10 seconds and combines them into one sharp, bright image.
How to get the best Night Mode shots:
- Stabilize your phone — rest it on a surface or use a tripod for the sharpest results
- Tap the moon icon in the top left to manually set the exposure time — longer = brighter but requires more stability
- Hold perfectly still during the countdown shown on screen
- Use Night Mode for cityscapes, restaurants, candles, and any indoor low-light scene
Night Mode vs Flash: Almost always use Night Mode instead of the iPhone flash. Flash creates harsh, flat lighting. Night Mode produces natural, warm results that look far better.
Tip 5: Shoot in ProRAW for Maximum Editing Flexibility
Available on iPhone 12 Pro and newer, ProRAW captures significantly more image data than standard JPEG — giving you much more flexibility when editing in apps like Adobe Lightroom or Darkroom.
How to enable ProRAW: Settings → Camera → Formats → turn on Apple ProRAW
When to use ProRAW:
- Portraits where you want to adjust skin tones in editing
- Landscapes where you want to recover highlights or shadows
- Any situation where lighting is challenging
When NOT to use ProRAW: Casual everyday photos, social media posts, or any situation where you want to share quickly — ProRAW files are 10–25MB each vs 3–5MB for JPEG.
Best free editing app for ProRAW: Adobe Lightroom Mobile — free on iPhone, handles ProRAW files beautifully.
Tip 6: Use the iPhone’s Telephoto Lens (Not Digital Zoom)
One of the biggest mistakes iPhone photographers make is pinching to zoom in — this is digital zoom, which degrades image quality significantly. Instead, use your iPhone’s physical telephoto lens.
How to switch lenses: Tap the 1x, 2x, or 3x button on your camera screen. These switch between physical lenses — no quality loss.
- 0.5x (Ultra-wide) — Great for architecture, landscapes, and group shots in tight spaces
- 1x (Main lens) — Best for most everyday photos
- 2x or 3x (Telephoto) — Great for portraits (more flattering perspective), wildlife, sports
- 5x or 12x (iPhone 15 Pro/16 Pro) — Excellent for distant subjects
Pro Tip: The 2x or 3x telephoto lens is actually the best lens for portrait photography. It creates a more flattering perspective that avoids the slight distortion the 1x lens can create on faces when shooting close up.
Tip 7: Use Third-Party Camera and Editing Apps
The built-in iPhone camera app is excellent, but these apps unlock even more creative control:
Best Free iPhone Photography Apps in the US:
- Snapseed (Free) — Google’s professional photo editor. Selective adjustments, healing tool, perspective correction. The best free editing app available
- VSCO (Free with paid upgrades) — Beautiful film-inspired filters and editing tools. Popular among Instagram photographers
- Adobe Lightroom Mobile (Free) — Professional-grade editing, handles ProRAW, syncs with desktop Lightroom
- Halide Mark II ($2.99/month) — The best manual camera app for iPhone. Full control over ISO, shutter speed, and focus
- ProCamera ($5.99 one-time) — Advanced manual controls and RAW shooting
Tip 8: Use a Tripod for Sharper Photos
Even slight hand movement creates blur — especially in low light, long exposures, and macro photography. A tripod eliminates this entirely.
Best iPhone tripods available in the US:
- Joby GorillaPod ($29.95 at Best Buy, Amazon, Target) — Flexible legs that wrap around anything. Perfect for travel
- UBeesize Phone Tripod ($21.99 on Amazon) — Budget-friendly, includes Bluetooth remote shutter
- Peak Design Travel Tripod ($199) — Premium option used by professional travel photographers
When you need a tripod: Night Mode shots, self-portraits, flat lays of food and products, and any situation where you need your hands free.
No tripod? Brace your elbows against your body, rest the phone against a wall or surface, or use the 3-second self-timer to eliminate movement from pressing the shutter button.
Tip 9: Use HDR Mode for Landscapes and High-Contrast Scenes
HDR (High Dynamic Range) takes multiple photos at different exposures and combines them — preserving detail in both bright highlights and dark shadows simultaneously.
How to use HDR: On most iPhones, HDR is automatic. To control it manually: Settings → Camera → turn off Smart HDR → you will see an HDR button in the camera app.
Best uses for HDR:
- Landscapes with bright sky and dark foreground
- Backlit subjects (person standing in front of a bright window)
- Architecture with bright exterior and dark interior visible through windows
When to turn HDR off: Fast-moving subjects (HDR creates ghosting), photos you want with high contrast intentionally, and black and white photography.
Tip 10: Edit Every Photo — Even Just a Little
Professional photographers edit every single photo they share. Even minor adjustments in the iPhone Photos app can transform a good photo into a great one.
The 5-Step Quick Edit in iPhone Photos App:
- Exposure — Adjust overall brightness. Most photos benefit from a slight increase (+10 to +20)
- Contrast — Increase slightly (+10 to +20) for more punch
- Highlights — Reduce (-20 to -40) to recover blown-out sky or bright areas
- Shadows — Increase (+20 to +40) to brighten dark areas without affecting the whole image
- Vibrance — Increase slightly (+15 to +25) for more colorful images without looking oversaturated
This entire edit takes under 60 seconds and dramatically improves most photos. No third-party app needed.
Quick Reference: All 10 Tips
| Tip | Best For | Difficulty | Cost |
|---|---|---|---|
| Rule of Thirds Grid | All photography | Easy | Free |
| Portrait Mode | People, pets, products | Easy | Free |
| Master Lighting | All photography | Medium | Free |
| Night Mode | Low-light scenes | Easy | Free |
| ProRAW | Advanced editing | Advanced | Free |
| Telephoto Lens | Portraits, distant subjects | Easy | Free |
| Third-Party Apps | Creative editing | Medium | Free–$6 |
| Tripod | Night, self-portraits | Easy | $22–$200 |
| HDR Mode | Landscapes, backlit subjects | Easy | Free |
| Edit Every Photo | All photography | Easy | Free |
Frequently Asked Questions
How do I take professional-looking photos with my iPhone?
The three biggest improvements you can make immediately are: enable the grid and use the rule of thirds for better composition, shoot during golden hour or near a window for better lighting, and do a quick 60-second edit in the Photos app after shooting. These three changes alone will dramatically improve your photos without spending a dollar.
What is the best iPhone for photography in the US?
The iPhone 16 Pro and 16 Pro Max offer the best cameras Apple has ever made — 48MP main sensor, 5x optical zoom, 4K120fps video, and a dedicated Camera Control button. However, the standard iPhone 16 and iPhone 15 Pro are also excellent. For budget-conscious buyers, the iPhone 14 still produces outstanding photos and is available refurbished for $400–$500.
Should I use ProRAW or JPEG on iPhone?
Use ProRAW when you plan to edit your photos in a professional app like Adobe Lightroom or Darkroom — it gives you significantly more editing latitude. Use JPEG for casual photos you want to share quickly — smaller file size and faster workflow. Most everyday iPhone photographers are better served by JPEG.
What are the best free photo editing apps for iPhone?
Snapseed (completely free, made by Google) is the best free photo editing app for iPhone. Adobe Lightroom Mobile is also free and excellent for ProRAW files. VSCO offers beautiful film filters on its free tier. All three are available on the US App Store at no cost.
How do I take better landscape photos with iPhone?
For landscapes, use the ultra-wide 0.5x lens for dramatic wide shots, shoot during golden hour for warm light, place the horizon on the top or bottom third line (not center), use HDR mode to preserve both sky and foreground detail, and always use a tripod or stable surface for maximum sharpness.
Start Taking Better iPhone Photos Today
These 10 tips for photography with iPhone cover everything from basic composition to advanced ProRAW shooting — and most of them are completely free to implement right now. Start with the three easiest wins: enable your grid, switch to the 2x telephoto lens for portraits, and do a quick edit on every photo before sharing. Once you see the difference, you will never go back to pointing and shooting without thinking.